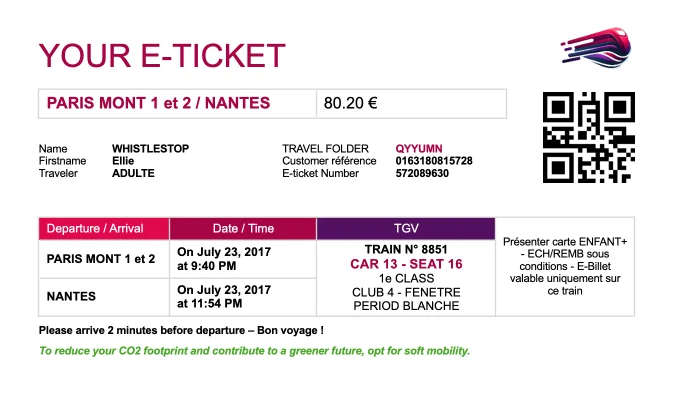
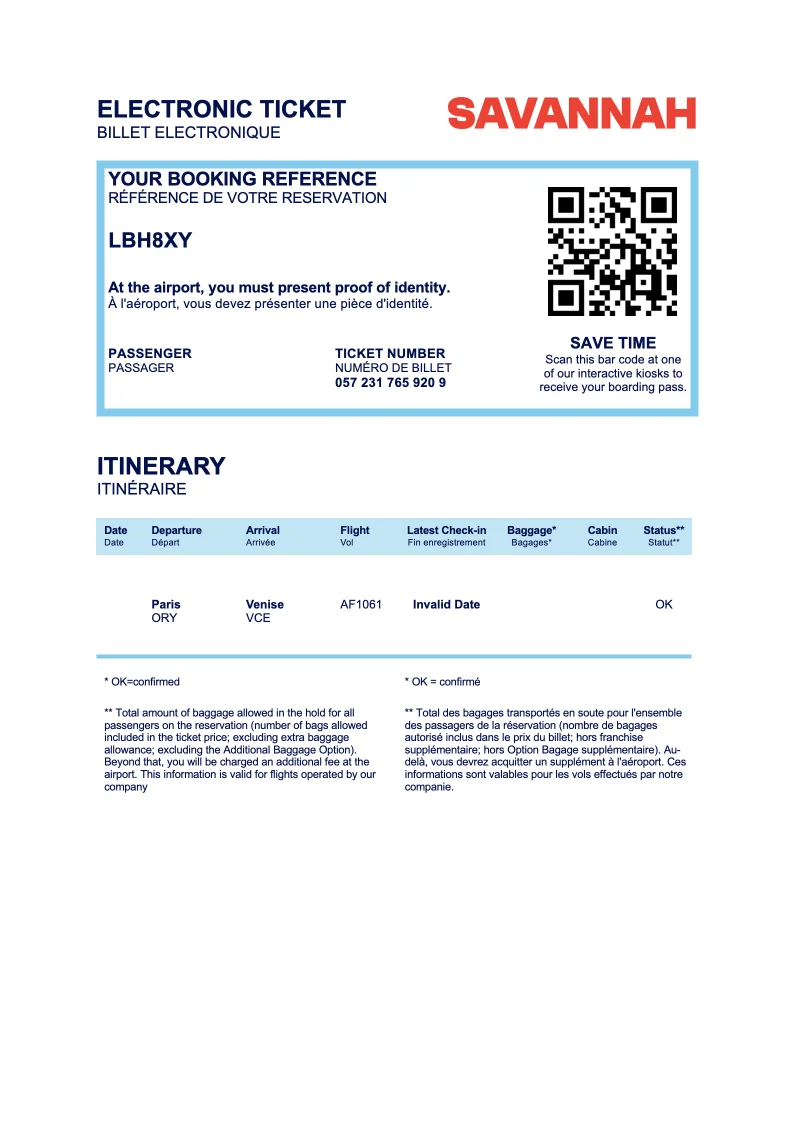
E-ticket
Generate your tickets with Carbone
- Template type document docx simple
- Carbone min. v4.0.0+
- Features loop barcode price date image
- Target ticket access control badge transport
Overview
Learn how to generate professional e-tickets with these essential features:
- Custom layout design
- Formatted dates
- Currency formatting
- QR code/barcode integration
Step-by-Step Solution
Follow these steps to create your e-ticket template with Carbone:
1. Set Up the Document Layout
- Open the File menu and select Page Setup
- Choose your preferred paper size
- For custom dimensions, use the Custom Sizes option
- Set the orientation (portrait or landscape)
2. Create the Ticket Structure
- Design your layout using tables for consistent alignment
- Add Carbone tags to display dynamic data
- Format text and adjust spacing for optimal readability
- Ensure proper cell alignment for professional results
3. Add QR Code Support
- Insert a temporary placeholder image
- Right-click the image and select View Alt Text
- Use the :barcode formatter to generate a [QR code](/documentation/ design/advanced-features/barcode.html#docx-barcode-example)
- Example syntax:
{d[i].travel.ticket:barcode(qrcode)}
4. Format Numbers and Dates
Currency Formatting:
- Use the :formatC formatter
- Example:
{d[i].travel.price:formatC}
Date Formatting:
- Use the :formatD formatter
- For full date:
{d[i].travel.departure:formatD(LL)} - For time:
{d[i].travel.departure:formatD(LT)} - Default format follows ISO 8601 standard
Tip: Add spaces within Carbone tags to improve readability and text wrapping
5. Enable Multiple Ticket Generation
- Add the iteration marker
{d[i+1]}on the next page - This allows generating multiple tickets in sequence
Related Examples
Trusted by 800+ paid customers in 40+ countries
Finance
Healthcare
Public
Retail
Industries
Energy
Software
Telecom